
When it comes to teaching writing, many of our students can feel overwhelmed by a blank piece of paper. That’s where breaking down the writing process for kids can make all the difference! Instead of watching them struggle, we can teach them the steps they must take, one at a time. This helps to build their confidence and develop strong writing skills. By showing our kiddos how to brainstorm, plan, draft, revise, and edit, we’re not just helping them write a story or report – we’re giving them tools they’ll use for a lifetime! Today, I’m breaking down the writing process and sharing helpful resources that will have your students practicing each step of the process!
By teaching our students how to tackle one part of the process at a time, we can turn even the most reluctant writers into confident ones. Each of these steps builds on the last, making the whole process feel manageable and less intimidating. Whether you’re working with young learners or older students, these strategies will help them develop the skills they need to write successfully.

When our students face a blank piece of paper, it’s easy for them to feel overwhelmed. Don’t leave them staring, unsure of where to begin! Instead, guide them through breaking down the writing process by teaching specific skills for brainstorming, planning, and writing. For reluctant writers, this process might need to happen in smaller steps or chunks to make it more manageable.
If the writing prompt is open-ended, start with a quick 1-minute brainstorming session. Have your students write down 1 or 2 words that describe topics they’re interested in or are related to the prompt. This simple exercise helps narrow down their options and sparks interest in the topic. Once they’ve listed a few ideas, have them choose one to focus on. By doing this, you’re taking the stress of unlimited choices off their shoulders. You’re also helping them find something they’re excited to write about.

Once your students have their topic, it’s time to start planning their writing. This step involves creating a simple but effective one-word sticky note outline. Have your students think of the most important points related to their chosen topic. Then, have them write just one word for each point on separate sticky notes. This helps them break their ideas down into manageable chunks without feeling overwhelmed.
Next, have your students organize the sticky notes. Ask them what order the information should go in so that it makes sense for their writing. The great part about using sticky notes is that they can be physically moved around on a piece of paper. This makes it easier for your students to see and adjust the flow of their ideas. Encourage your students to make quick decisions, reminding them that the order can always be changed later, if needed. This step keeps the planning process flexible and helps them feel more in control of their writing.
Time to start writing? Not quite yet! Before your students begin drafting, they need to add important details to their sticky note outline. Encourage them to add 3 or 4 key facts or points to each sticky note. Here’s the key. They can only use three keywords for each supporting point. This keeps the information clear and concise, while still giving them plenty to work with when they start writing.

By now, your students should have what I like to call a “keyword outline.” It’s a comprehensive plan for each paragraph, but it’s all made up of the most important words. Words your students chose themselves. These keywords help them remember what they want to write about. It’s important to let them know that the words they choose may be different from what someone else would pick, and that’s perfectly okay!
Before we head to the next step, have you noticed that we’ve chosen a topic, figured out our main ideas, organized them, and added supporting details without writing a single sentence? This is such a game changer for reluctant writers. They’re practicing and learning key writing skills without feeling overwhelmed by having to write full sentences yet!
Now it’s time to start writing sentences! We’re going to break this down into manageable steps that won’t overwhelm our writers. Have your students take out one piece of paper for their draft. Start by taking the first sticky note from the outline and placing it on the desk next to the paper. Using only one sticky note at a time keeps things simple and focused.

We’ll work through this one sentence at a time. First, have your students look at the one-word main topic at the top of the sticky note. Encourage them to add words to create a sentence about that topic. This will become the main idea or topic sentence for the paragraph.
Next, move to the supporting facts or details. Have your students look only at the 3 keywords they wrote to describe each fact. Encourage them to turn those 3 keywords into a full sentence. Repeat this process for each supporting detail on the sticky note. This approach helps them build their paragraphs without feeling overwhelmed by all the information at once.
Once they’ve written sentences for the main idea and supporting details, have them put the sticky note back on the outline sheet and take the next sticky note. Repeat the process until all sticky notes have been turned into paragraphs. As students are writing, remind them to skip 2 lines between each sentence. This will make revising and editing much easier later on.
To avoid burnout, consider breaking this step into multiple days. Your students can work on their topic and outline over 1-2 days. Then they can tackle one paragraph each day after that. This gradual process helps our reluctant writers feel less pressure. They’ll appreciate that each step is short and focused.

Now that your students have written their draft, it’s time to start the revising process. This step in the writing process for kids can feel overwhelming. We’ll focus on revising one paragraph at a time. Have your students read their paragraph aloud to see if it makes sense. I also recommend reading it to them. Sometimes hearing someone else read it helps your students catch missing words or out-of-order facts that they might miss when reading it themselves.
As they revise, this is the perfect opportunity to refer back to lessons and skills you’ve already taught them. Encourage your students to apply those lessons to their writing. To make revising more engaging, have them use a colored pencil or pen that’s different from the draft. They can write their revisions on the blank line above the draft, making the changes easy to spot.
This is also a great time to introduce or reinforce some basic revising and editing symbols. Your students can use these to mark where they need to make changes. These symbols could be for moving a sentence, adding more details, or fixing something that doesn’t make sense.

After revising all the paragraphs, it’s time to move on to editing. In this step, your students will focus on catching any mistakes in spelling, punctuation, and grammar. They’ll also want to check for things like where new paragraphs should begin. Encourage your students to use a colored pencil or pen during this step as well. This makes their changes stand out and easier to apply when they write their final draft.
Once they’ve gone through the draft and made edits, have them read through it one more time. This is to ensure all the changes make sense and no mistakes are missed. This final read-through helps your students feel confident that their writing is polished and ready for the last step.
The last step in the writing process for kids is creating the final draft. While this might feel like a lot of physical writing, there’s very little thinking involved at this stage. Your students are simply copying their revised and edited work onto a clean sheet of paper. The focus here is making sure they carefully incorporate all the changes they made during the revising and editing steps. By this point, the hard work is done. Now, it’s all about putting it together neatly!
Now that we’ve gone over the steps of the writing process for kids, let’s explore some fun and engaging activities that will help your students practice what they’ve learned! These activities are perfect for reinforcing each step of the writing process while keeping things exciting for our young writers.

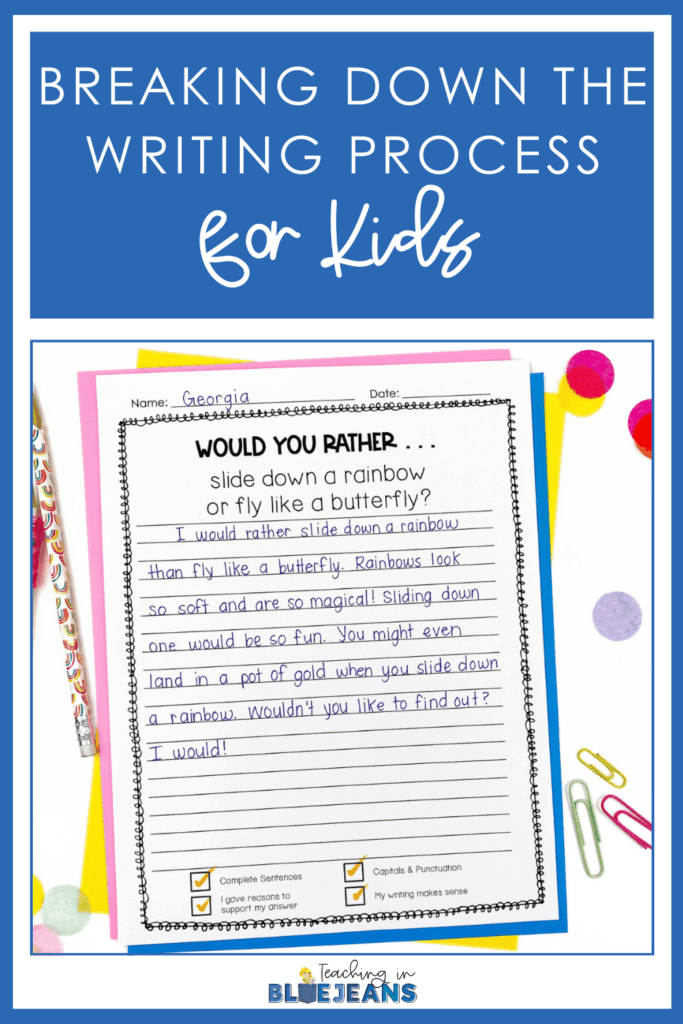
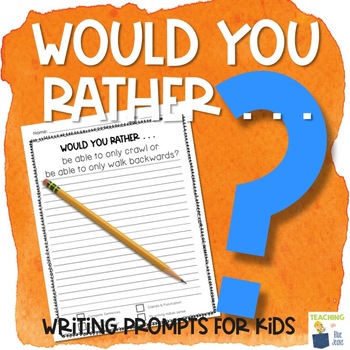
I use my Would You Rather Writing Prompts to help my students practice the writing process for kids in a fun and engaging way. These prompts are perfect for opinion or persuasive writing. They give students the opportunity to work through each step of the writing process while exploring interesting and sometimes silly scenarios.
I introduce the prompts by letting my students pick one that catches their attention. The open-ended nature of the prompts makes brainstorming easy and fun! They can jot down a few words about which option they would choose and why, helping them narrow down their thoughts.
Then, we move into planning. I have my students create a quick outline using the main points they want to include in their writing. The simplicity of these prompts allows them to break down their ideas into manageable chunks. This is especially helpful for reluctant writers.
When it’s time to draft, my students use their outlines to craft sentences that explain their reasoning. We work on forming complete sentences with correct punctuation and capitalization. The prompts remind them to focus on these important writing skills.
After drafting, we move on to revising. I have my students read their responses aloud to catch any mistakes or areas that need improvement. I encourage them to check for clarity and make sure their reasons support their choice.
Finally, we edit for spelling and grammar before completing a final draft. By working through these steps, my students practice all the key stages of the writing process. This resource not only makes writing more enjoyable but also reinforces the writing skills we work on throughout the year.

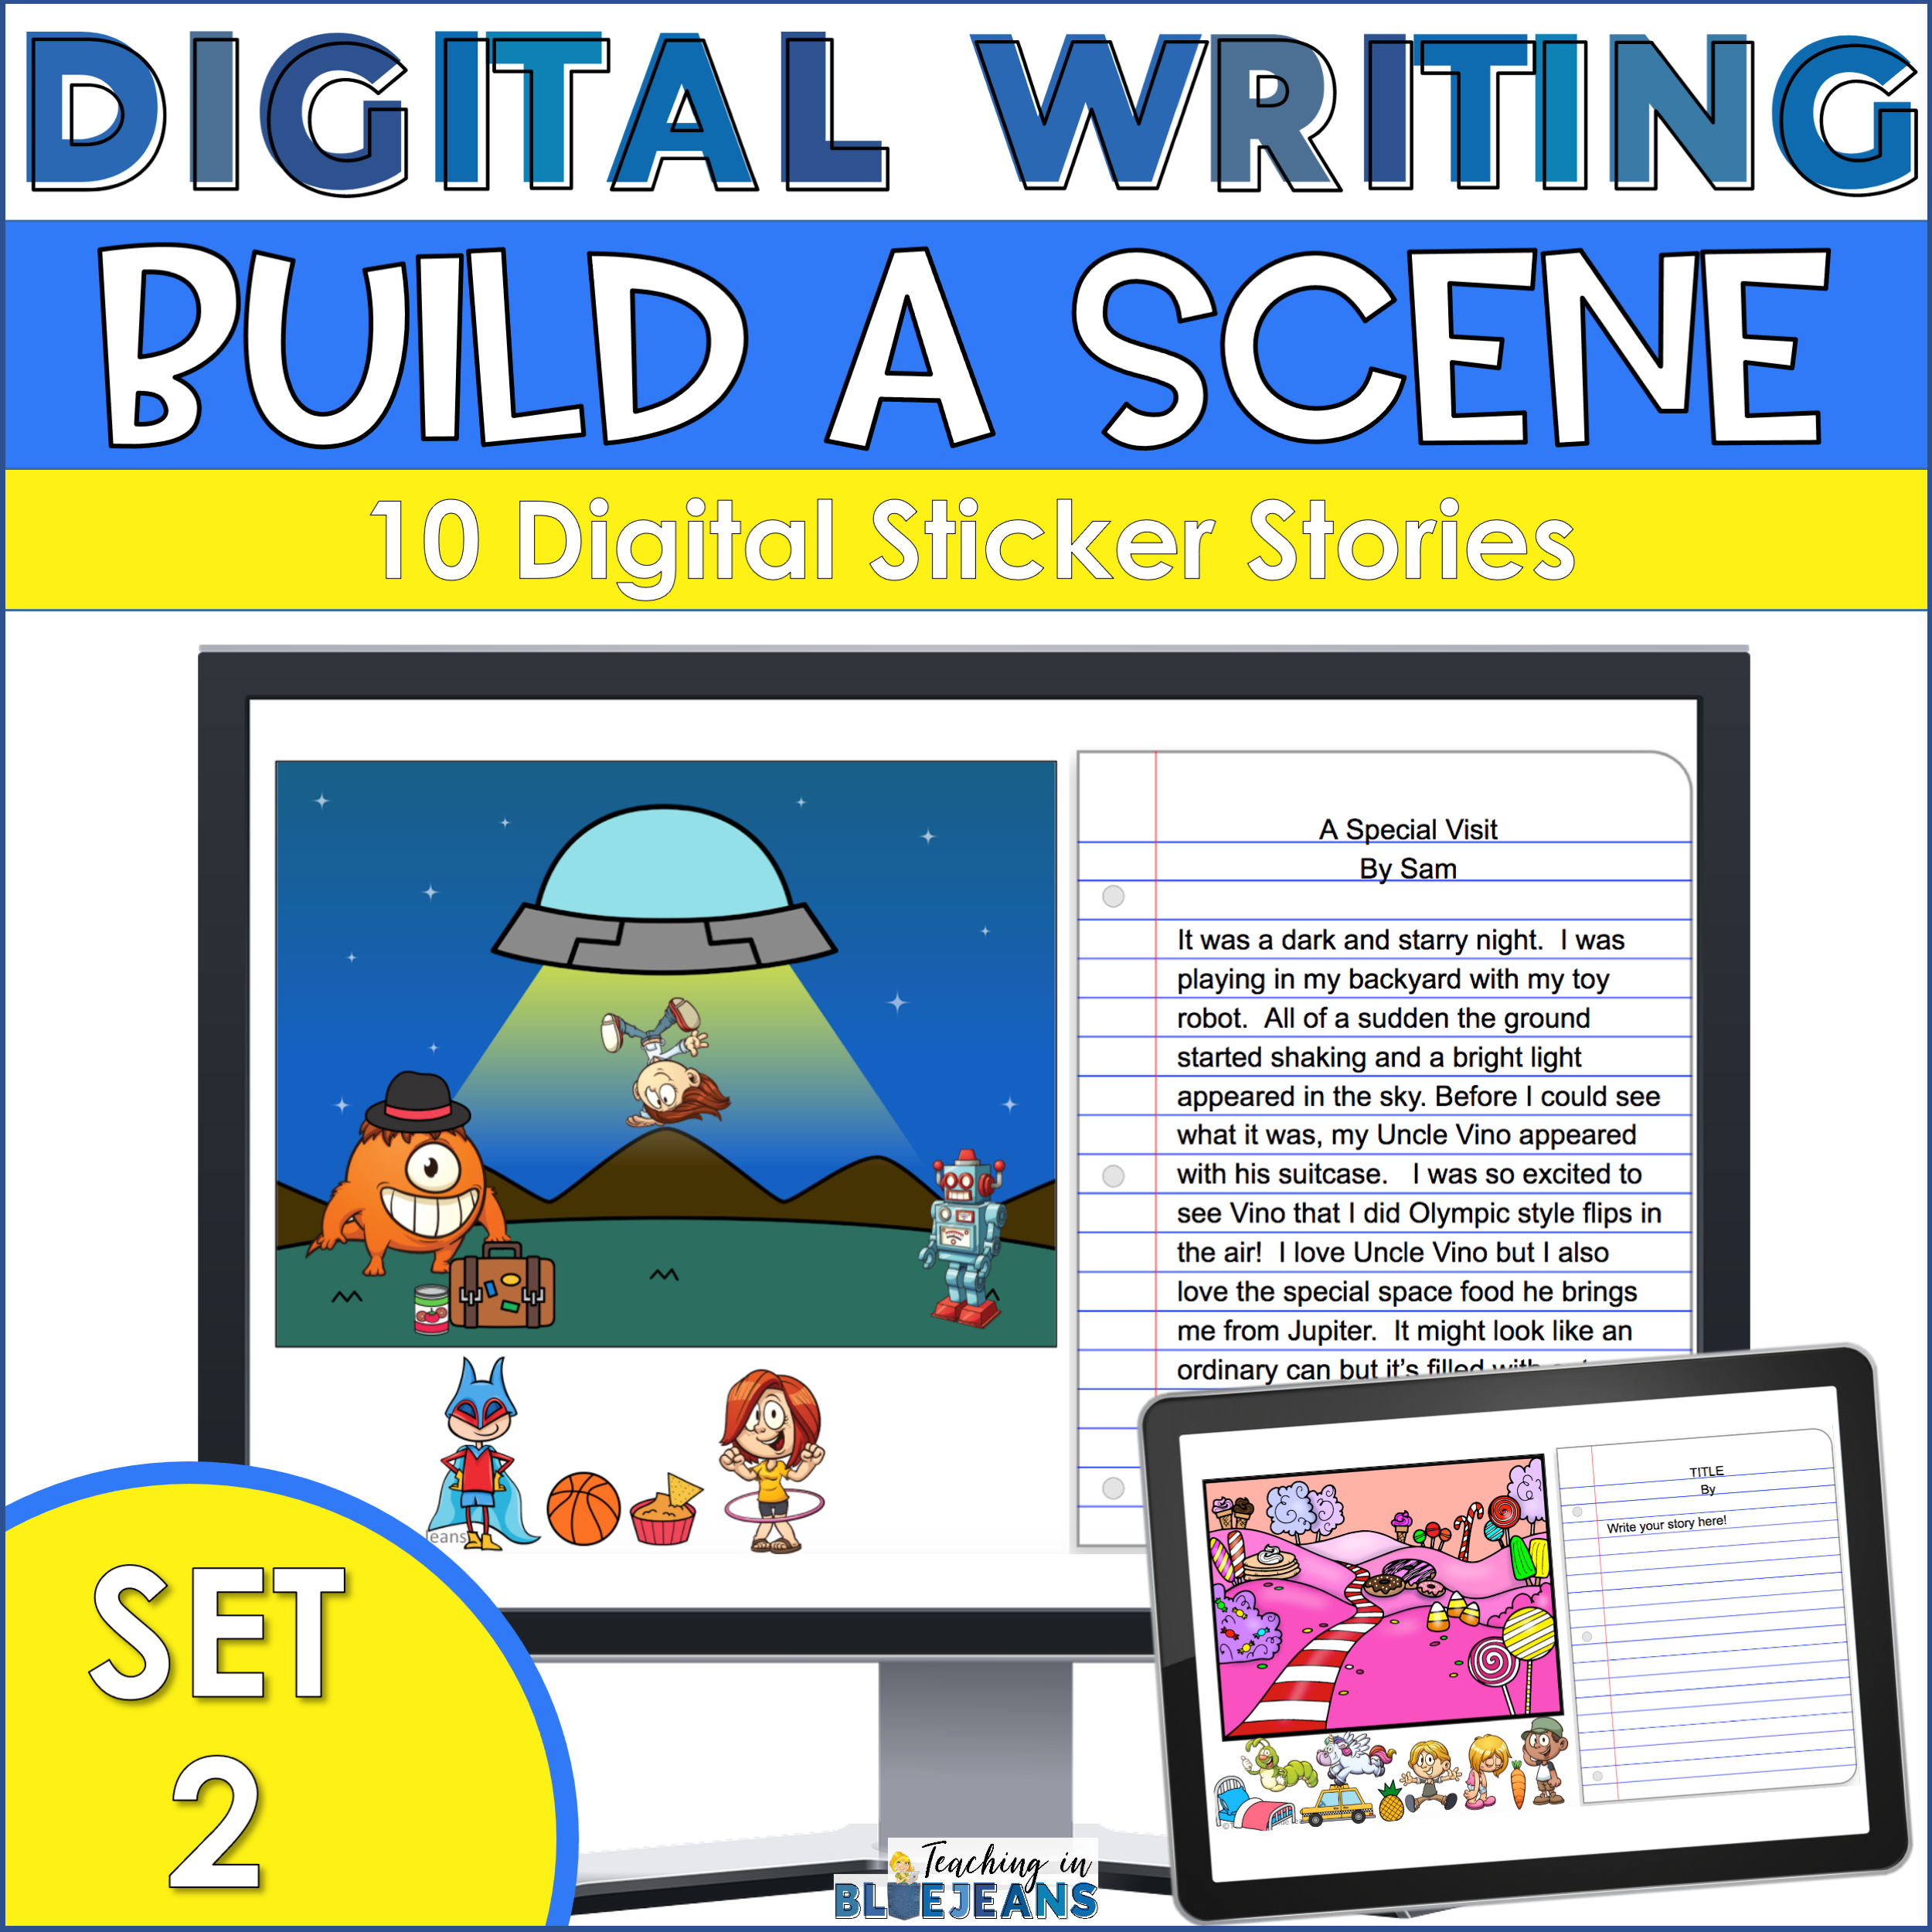
Another great way to get kids working through the writing process is by using the Build-A-Scene Interactive Writing Prompts. This resource combines writing with visual creativity as each student creates their own scene from the provided digital stickers to write about. This makes it perfect for our students who thrive with interactive activities.
I introduce the scene-building aspect to get my students excited. They choose a digital background and add stickers or elements to create their own story setting. This visual step helps even the most reluctant writers feel more engaged and invested in their stories. By building a scene first, my students are already thinking about what they want to write before they even start putting words on the page.
Next, we move into the brainstorming and planning stages. Once my students have their scene, they can brainstorm ideas about what’s happening in it. I guide them through planning the main events of their story by discussing the characters, setting, and action that they’ve created. The stickers help them visualize the story, making it easier for them to organize their thoughts.
When we get to the drafting stage, my students use their scene as a reference to begin writing their story. They write one sentence at a time, describing what’s happening in their interactive picture. This breaks the writing process down into small, manageable chunks, making it less overwhelming for them.
After the draft is complete, we move on to revising. I have my students look at their writing and see if it matches what’s happening in their scene. I encourage them to add more descriptive words and details to make their story come to life. We also focus on editing for spelling and punctuation as they read through their work.

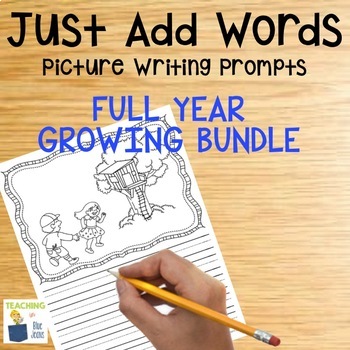
To avoid the glaring blank piece of paper, I love using pictures as writing prompts. The Just Add Words Picture Writing Prompts are a great way to help students practice the writing process by narrowing down the topic. This resource works well in a variety of settings, from independent writing centers to whole-class lessons. It keeps our students motivated while practicing the essential steps of the process.
I introduce the picture prompts, which give my students a visual starting point for their writing. The images spark their imagination, helping to ease the fear of staring at a blank page. I always encourage my students to think about what’s happening in the picture and what might happen next. This sparks their brainstorming process in a fun and low-pressure way.
Next, I have my students plan out their ideas. We talk about the details they want to add to their stories. We focus on what’s happening in the scene, who the characters are, and what action is taking place. For students who like to get lost in coloring, I set a time limit of 5 to 10 minutes to color in their pictures. Then, it’s time to shift focus to the writing.
When it’s time to start drafting, my students use the picture as inspiration and begin adding words to describe the scene. They write about what’s happening, drawing from the details in the image. This step helps them build sentences and organize their thoughts without feeling overwhelmed.
After they finish their drafts, we move on to revising. I ask students to read their stories aloud. This helps them identify any missing details or parts that might need more explanation. This is also when they can add more descriptive words or reorganize their sentences to improve clarity. We make sure our spelling and grammar are accurate as well.
Below are a couple more resources that will share ways to incorporate writing into your routines! Make sure to take some time to explore them to see how they can help with the writing process for kids.
It’s clear that teaching the writing process for kids doesn’t have to be overwhelming or boring! By breaking it down into manageable steps and using engaging resources like picture prompts or interactive activities, we can help our students become confident writers. Each step of the process gives our kiddos the tools they need to succeed. It’s amazing to watch them grow throughout the process. With a little creativity and patience, we can make writing fun and effective for every student!
Remember to save this post to your favorite teacher Pinterest board for quick access to these tips and resources for the writing process for kids.