
If you work with young kids, you already know how important it is to develop fine motor skills early on. As a classroom teacher, there are so many activities you can use to support these skills, but sometimes we can get stuck in a rut! If you’re looking for something new to add to your routine, let’s chat about how teaching scissor skills can be a fun and engaging way to develop fine motor skills in the primary classroom.
As a teacher, you know that developing fine motor skills is an important part of early childhood education. Scissor skills are a specific type of fine motor skill that involves the use of scissors to cut paper or other materials.
Learning to use scissors is a developmental milestone that typically occurs between the ages of 3 and 5. However, some children may develop scissor skills earlier or later, depending on their individual development. In recent years, I have had more and more students who entered my kindergarten classroom never having been exposed to scissors before.
Using scissors is something we do throughout our life. Whether we are creating a new masterpiece, opening a stubborn bag of chips, or wrapping gifts, scissors are part of life.
It’s important that we weave teaching scissor skills and lots of cutting practice into our classroom routine.
I know that handing a young child a pair of scissors can feel a little unnerving, but trust me – teaching this skill is well worth it! And with a few safety procedures in place, it’s not that scary after all, more on that below! But first, let’s talk about the benefits! Scissor skills can help children to:
Cutting with scissors requires the use of small muscles in the hands and fingers. As children practice cutting, they strengthen these muscles, which helps them perform other fine motor tasks, such as writing, buttoning, and zipping. Learning to use scissors goes hand-in-hand with more independence in many ways!
Cutting with scissors requires children to use their eyes to guide their hands. As they practice cutting, they develop the ability to coordinate their eye movements with their hand movements. This skill is important for many other activities, such as playing sports, catching balls, and using tools.

Bilateral coordination is the ability to use both sides of the body together. When children cut with scissors, they use both hands at the same time. This helps to improve their bilateral coordination, which is important for many activities, such as walking, running, and riding a bike.
Cutting with scissors requires children to focus on the task at hand. As they practice cutting, they develop the ability to focus their attention for longer periods of time. This skill is important for many other activities, such as learning, reading, and playing games. I think as teachers, we can all agree that an enhanced attention span is a HUGE benefit!
In addition to these benefits, cutting with scissors can also be a fun and rewarding activity for children. It can help them to express their creativity and imagination, and it can also be a great way to relieve stress.
There are many different ways to help your students develop their scissors skills. The primary thing to keep in mind though is that the more practice you can offer, the better! Children need lots of exposure to new skills in order to improve and develop mastery.
If you’re nervous about starting this in your classroom, don’t be! Keep these tips in mind to make learning scissors skills fun and safe.

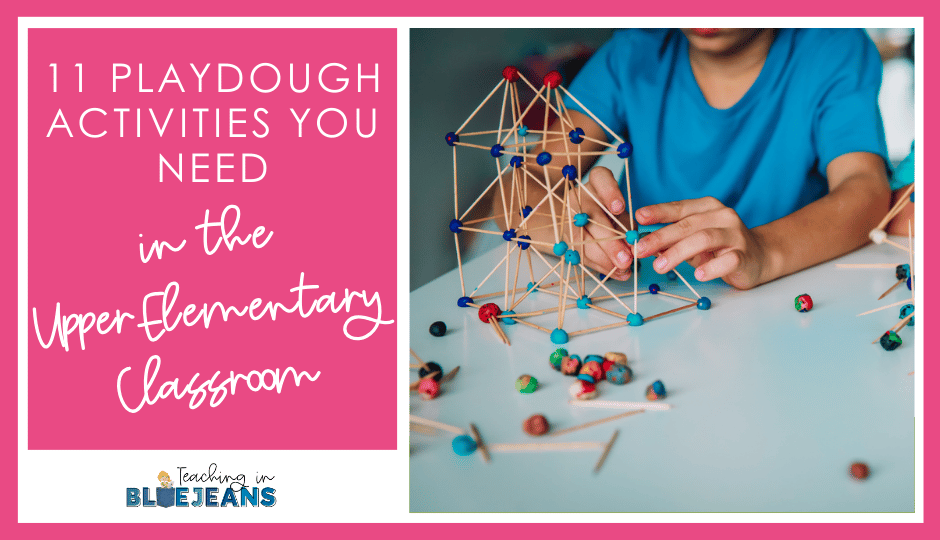
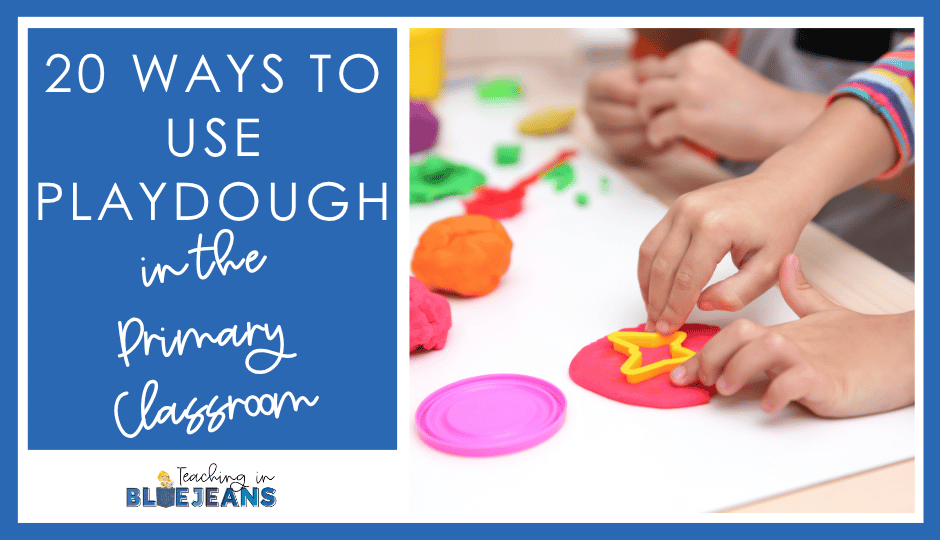
The earlier you start introducing children to scissors, the better. Even if they are not yet ready to cut on their own, they can start by watching you cut and then practicing with your help. One of my favorite ways to introduce very young learners to using scissors is with play dough.
Grab a pair of plastic safety scissors and provide students will playdough. Since there are no metal blades, you don’t have to worry about students harming themselves as they practice the motion of opening and closing the scissors to snip the dough into pieces. This is also a great opportunity to place your hand over theirs and model the correct form.
And. . . since play dough has a little more resistance than cutting paper with regular scissors, it’s a great hand workout for those important muscles. Adding some playdough and plastic scissors to your morning tubs or centers is an easy but beneficial activity for your students.
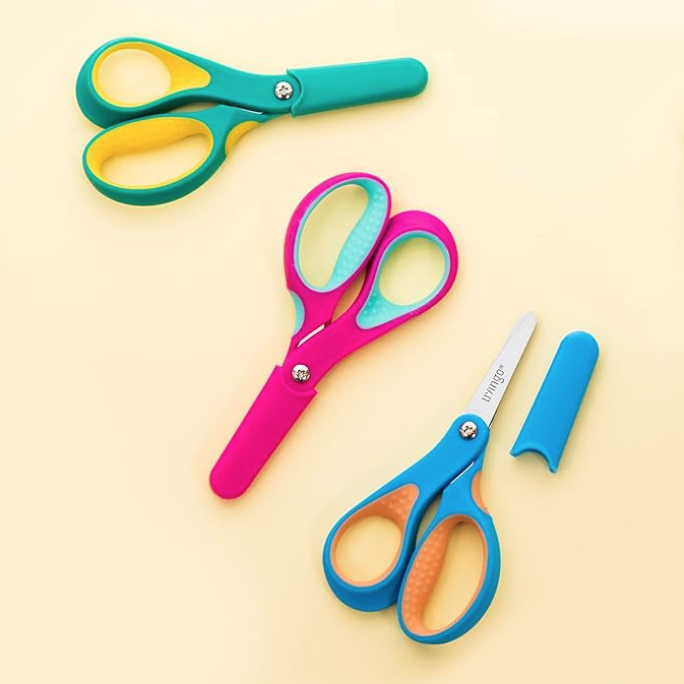
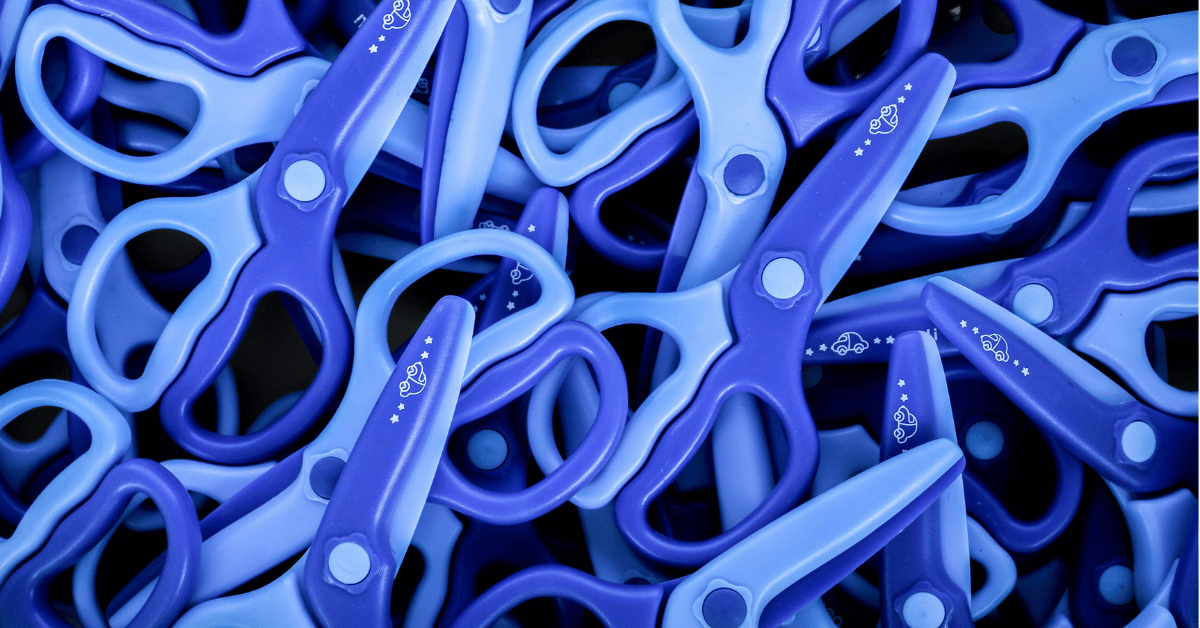
There are many different types of scissors available, so it is important to choose the right type for your student’s age and skill level. Here are a few options to get started:
Keep in mind that even though these options are considered “safety” scissors, you’ll still want to provide ample supervision while students are using them. I prefer to use them during small group time so I can focus on just a couple of students and correct them immediately if needed.
Before you even start teaching scissor skills, make sure to teach the rules and expectations! Talk with students about what scissors are for, and what they aren’t for. You’ll also want to discuss safety procedures like always being seated when using scissors, how to hold them when walking in the classroom, and where they are stored. This is an important step that definitely shouldn’t be skipped!

And. . . don’t forget the “not so obvious” rules. Scissors are only used for playdough and paper. But scissors are not used to cut books even though they are made out of paper. We don’t use scissors to cut other people’s playdough creations.
There’s always a budding fashion designer who needs to know that at school, scissors are not used for cutting our clothes or our friends’ clothes. And we can’t forget about the future hairstylist who needs a reminder that at school scissors are not used to cut our own hair or that of our friends and neighbors.
It’s important to remember that cutting is a skill that has different levels of complexity. For the best results, teach the cutting skills from simple to more advanced. These skills will build on each other and help students as they move from level to level.
Here is a good order to use when introducing scissor skills to young kids:
I would suggest focusing on one or two skills at a time and not moving on until the child is ready. When a student has learned to cut a straight line they are not quite ready for cutting out a shape because they have not yet learned that they will need to move the paper at the same time they are cutting. Take it step by step and provide lots of modeling, guidance, and practice.
The more your students practice cutting, the better they will become at it. Provide them with plenty of opportunities to practice cutting.
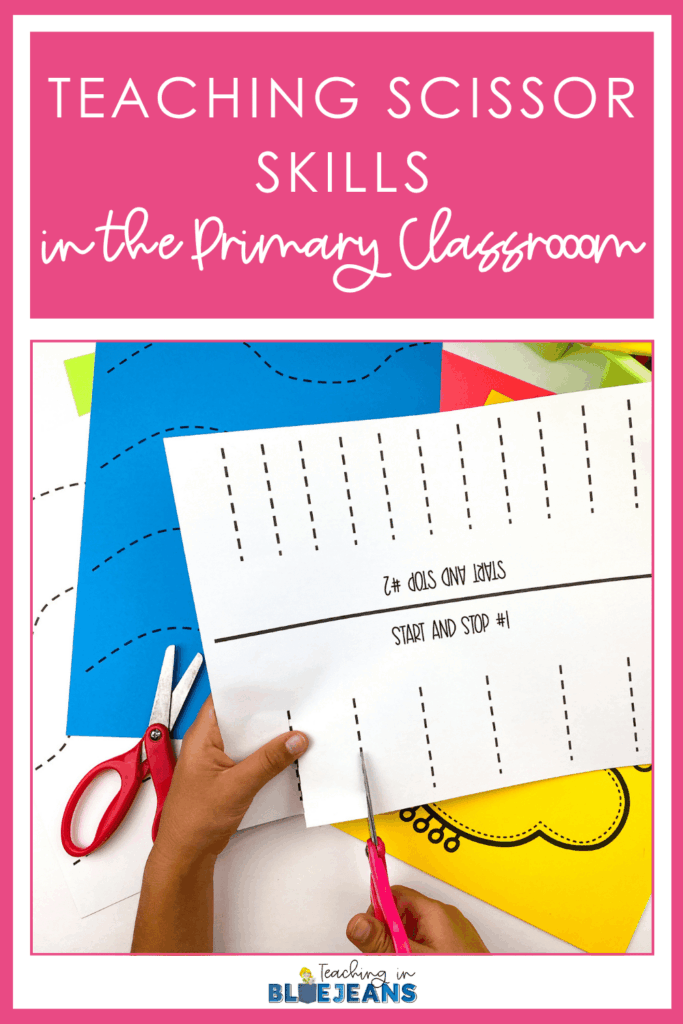
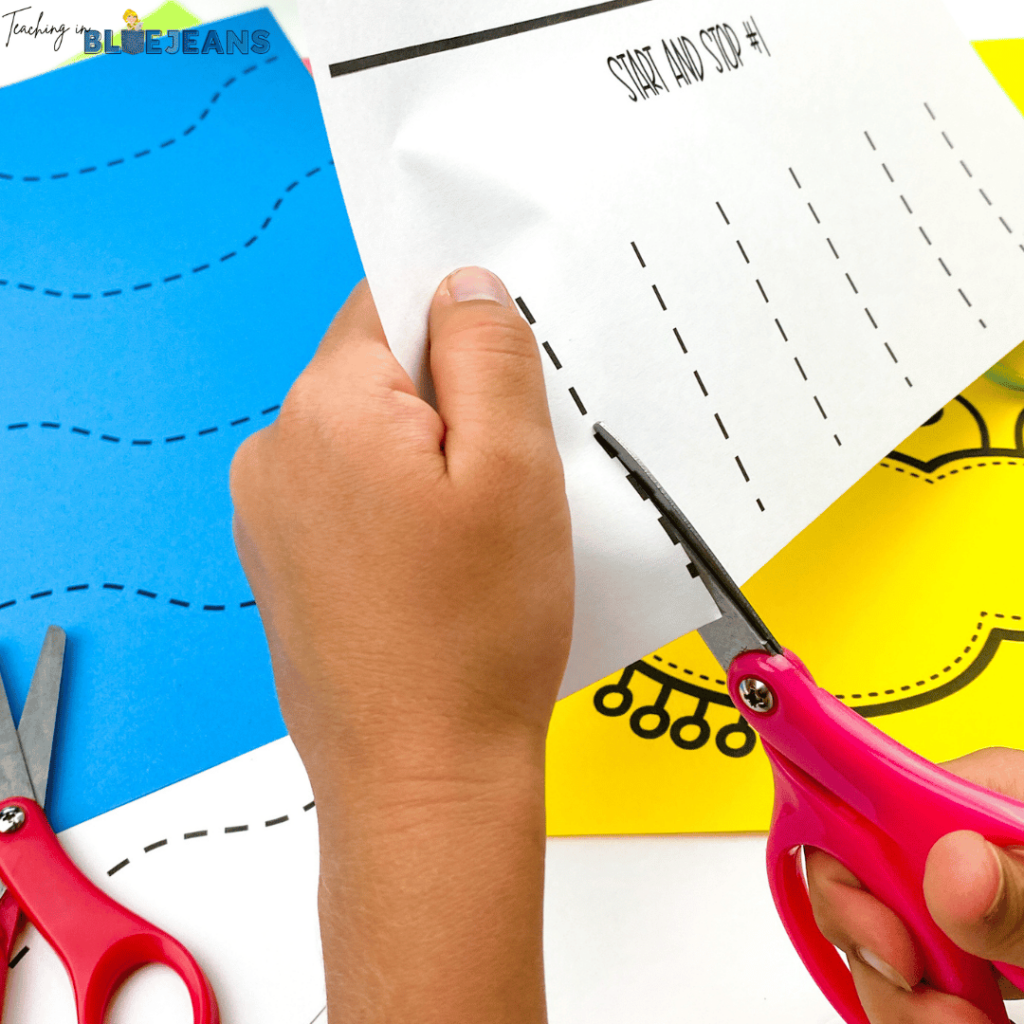
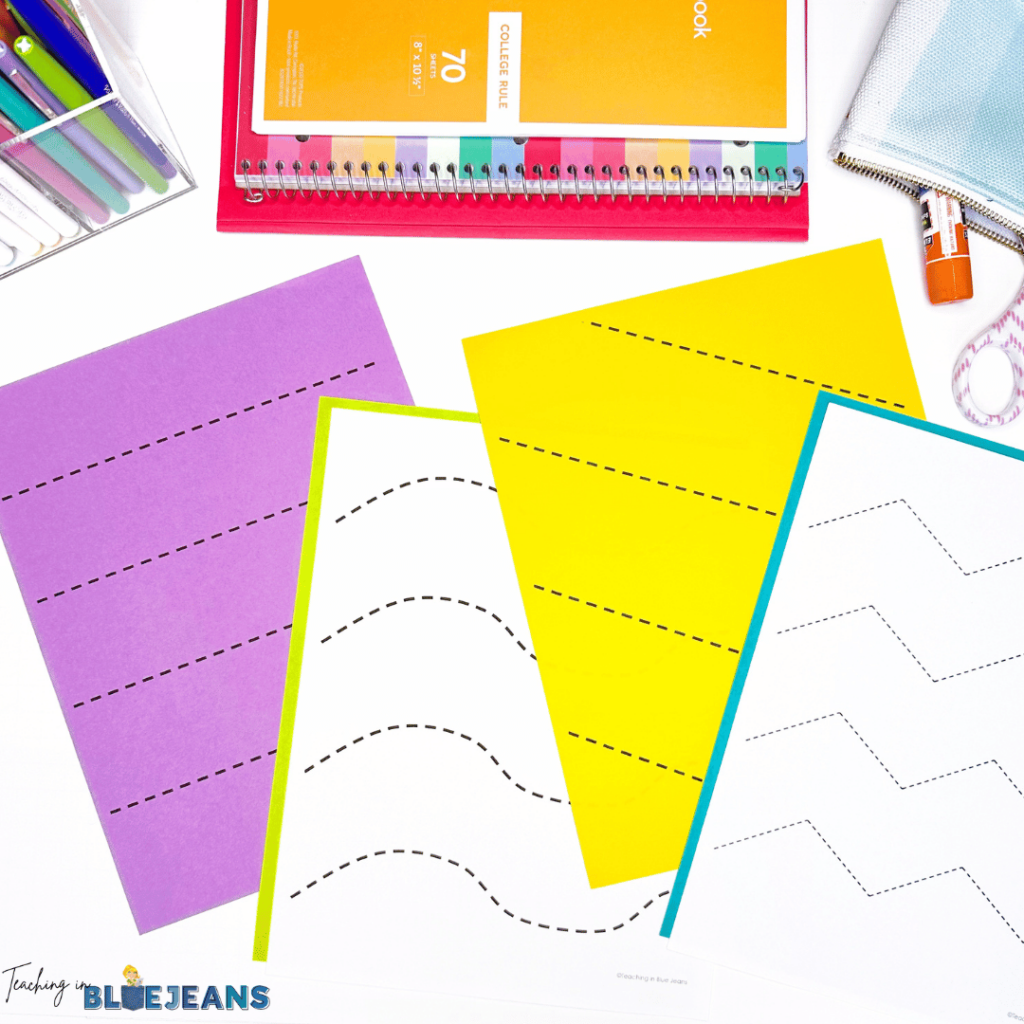
Personally, I love to set up a tub filled with pages of cutting practice. These pages connect to the current skill level and provide kids with opportunities to practice and improve cutting. Each page includes multiple lines to cut so that they get lots of practice.
Including pages with lines for students to cut is really important. This teaches them how to make the scissors go where they need to go, develops hand-eye coordination, and helps them learn how to turn the paper to cut the appropriate line. While free cutting is good practice too, don’t ignore the need for practice using cutting lines.
Learning to use scissors takes time and practice. Don’t get discouraged if your students are not natural at it, this is actually quite common. Just keep providing them with opportunities to practice and they will eventually get the hang of it! Don’t believe me? Save a cutting sample from the beginning of the year and compare it to one from the end of the year. The growth they will have when they have been provided with lots of cutting opportunities will be obvious.

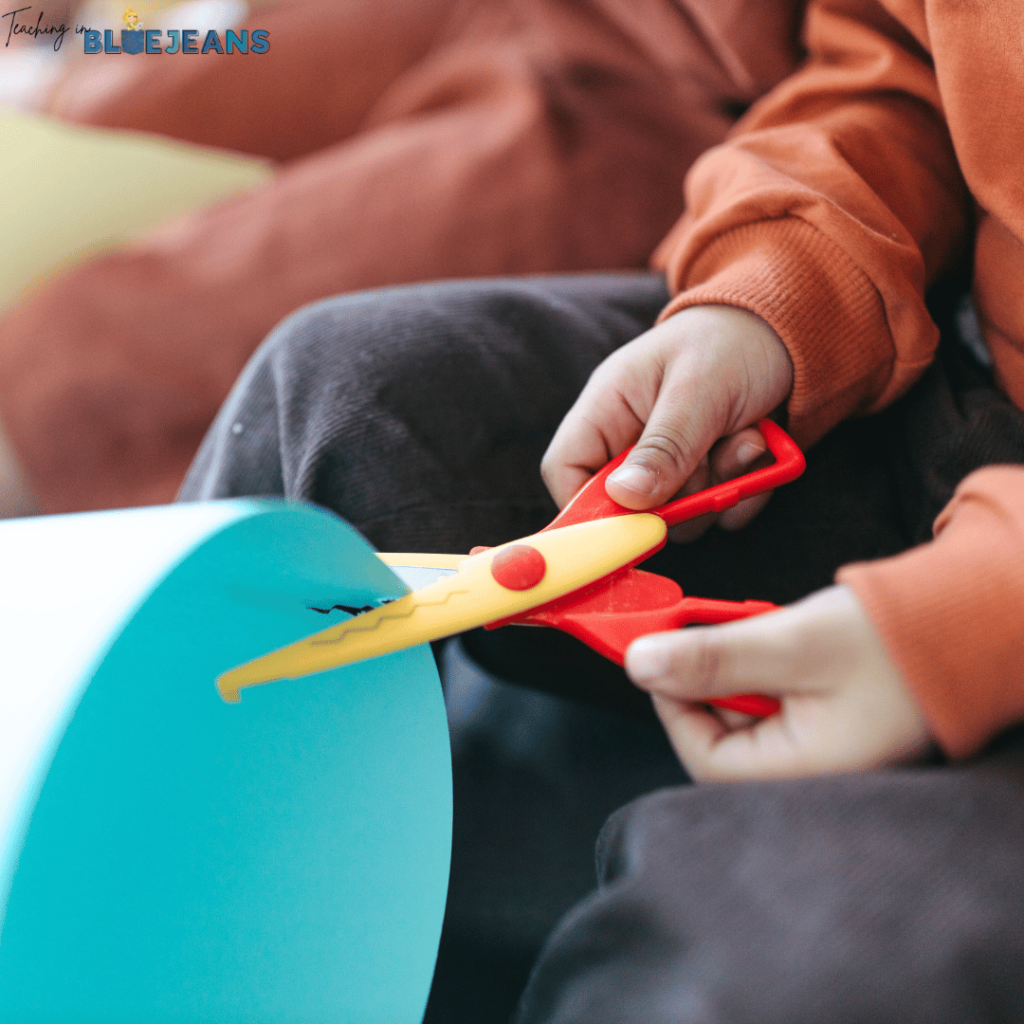
Show your students how to hold the scissors correctly. This is the place you must start because, without it, students can develop some crazy bad habits.
Describe exactly how you hold scissors and show them. You can even use a poem like this one to help them understand the correct way to hold scissors.
Fingers on the bottom, Thumb on Top, Do not let the paper drop.
Have students pick up the scissors and hold them without doing anything else. Check each student and correct their scissor grasp as needed. Then have them put them down and try it again. You can make this feel like a game, but the practice of picking up scissors and holding them correctly will start to develop muscle memory.
If students are using scissors and you notice a student holding them incorrectly, try to correct them quickly. The more they use scissors incorrectly, the more likely the habit is to stick.
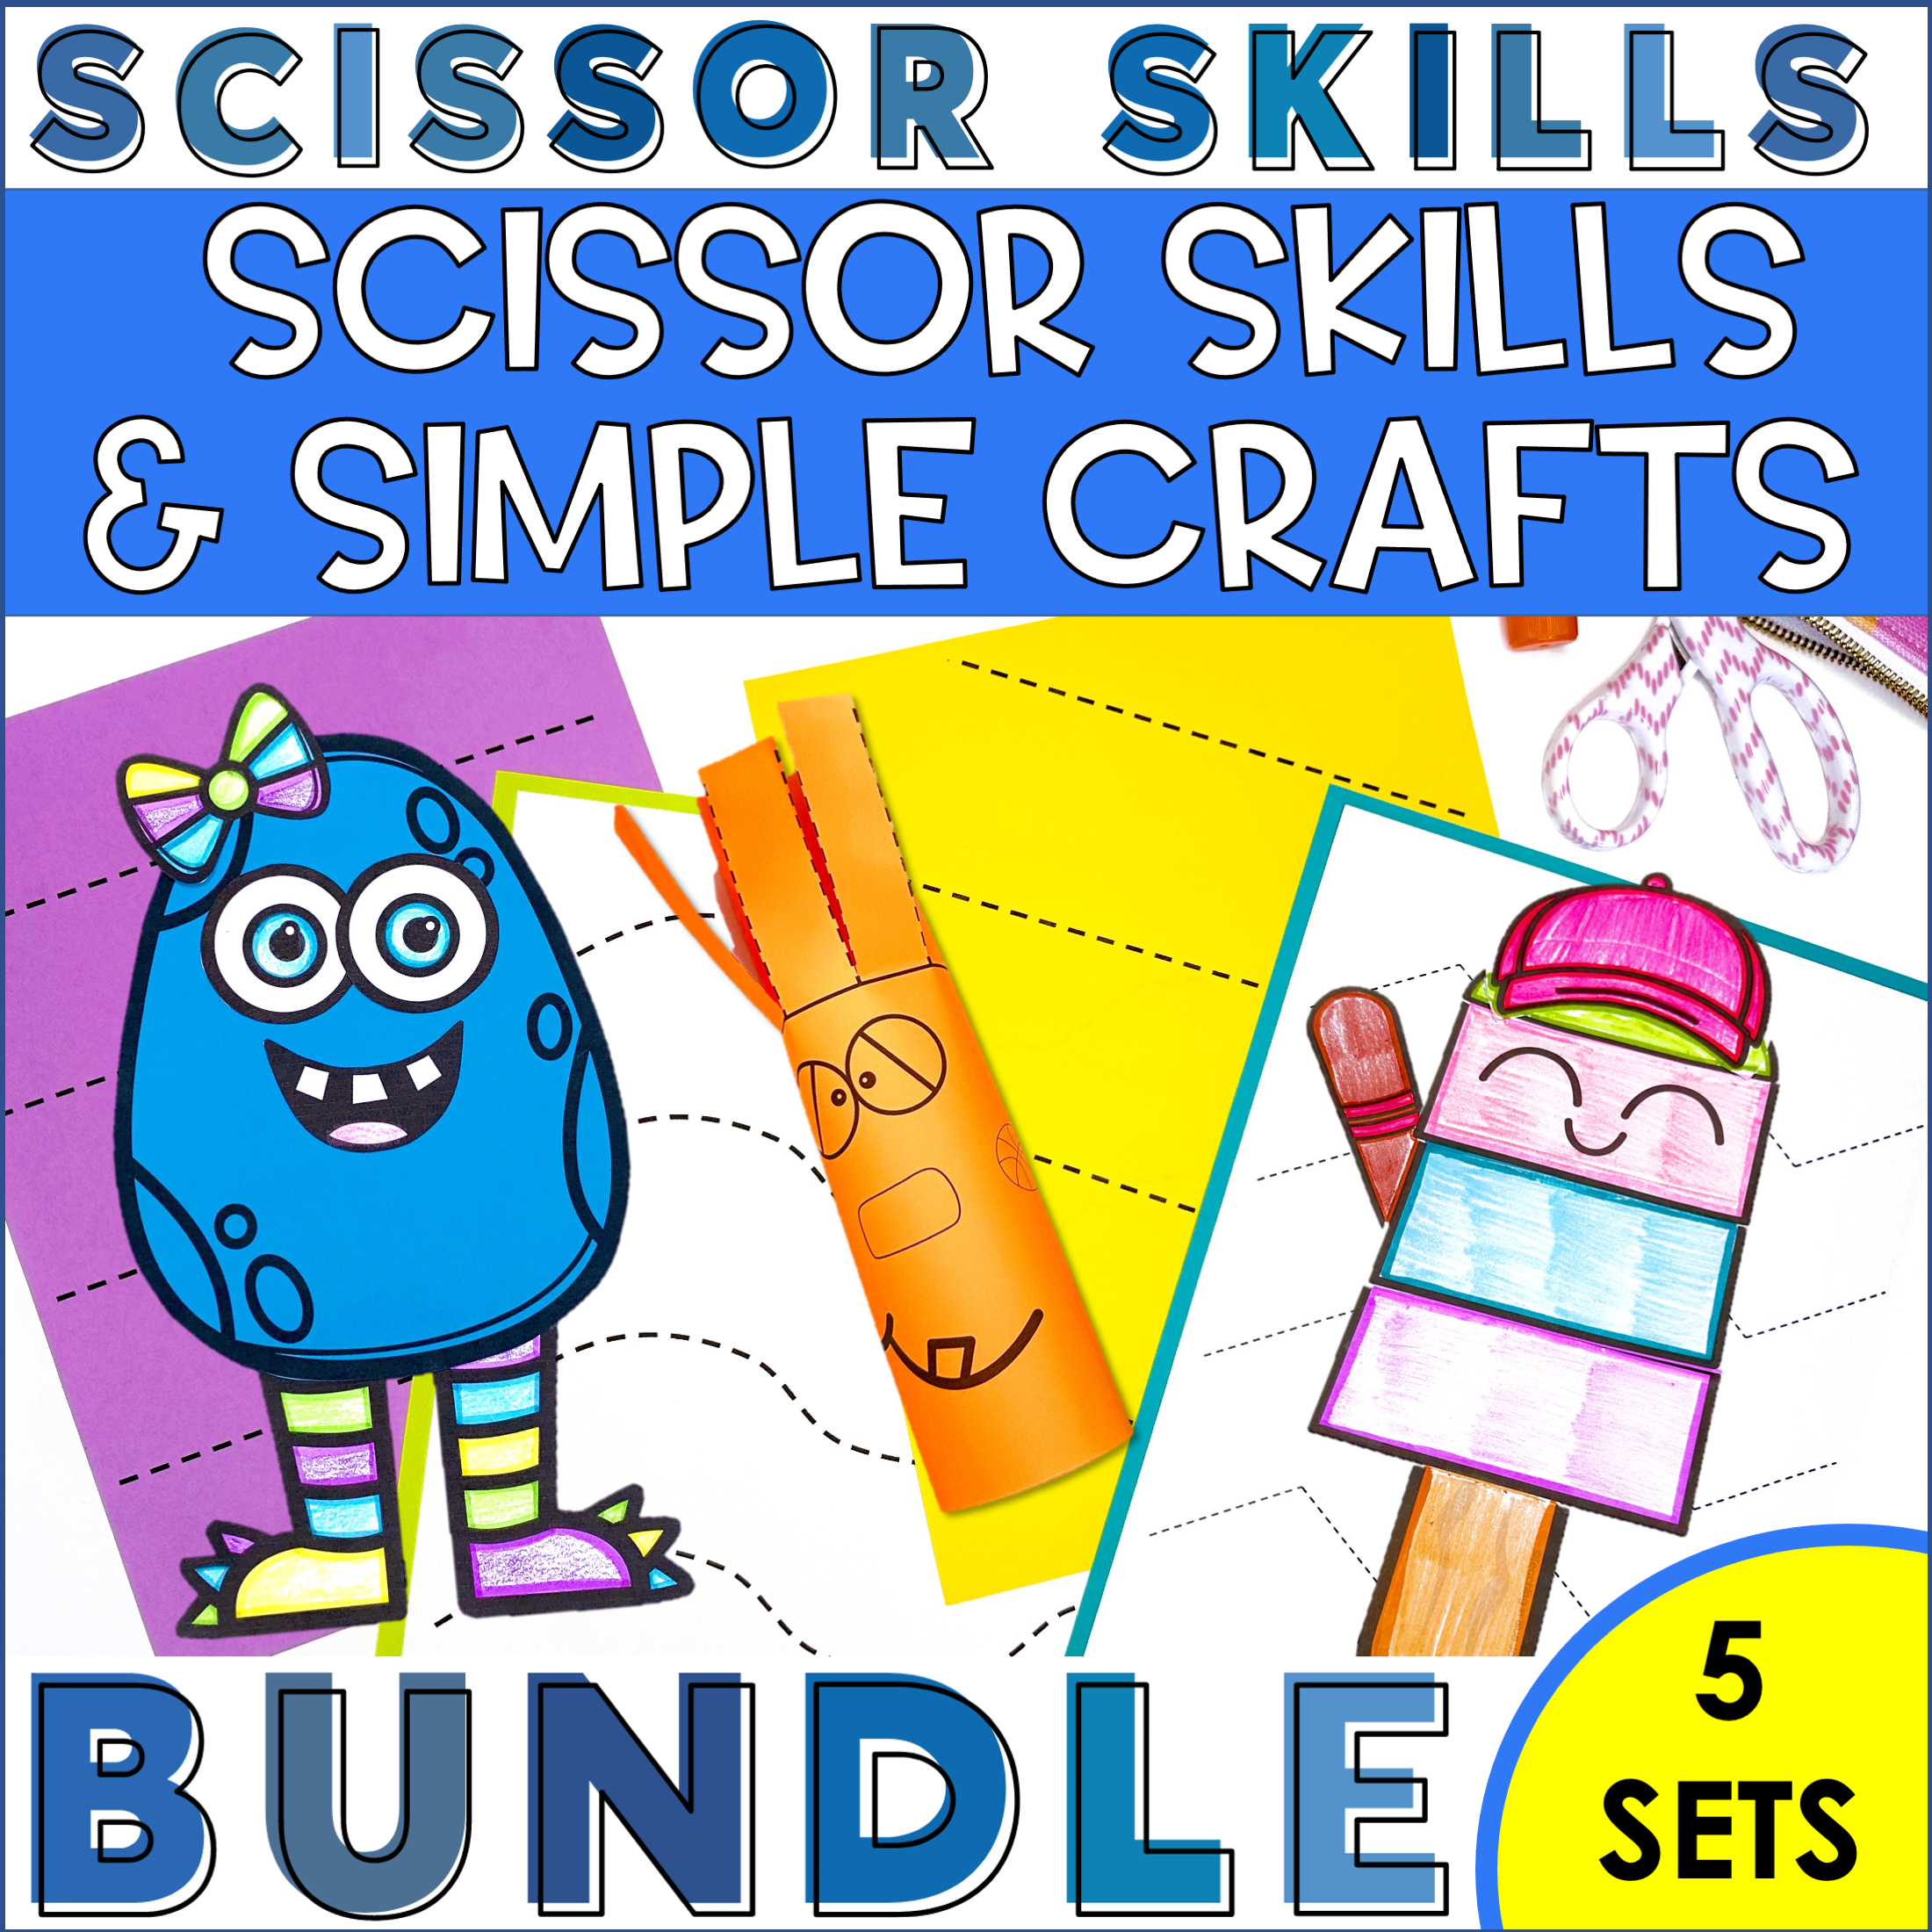
While using scissors in general is a lot of fun for little learners, there are other ways you can keep the enthusiasm rolling! In my classroom, we do this with thematic scissors skills crafts to align with the seasons. Each month, we work on cutting pages that are aimed at teaching scissor skills in a fun way!
But we don’t stop there. We use the new scissor skills to create things! Not only do students love this but it teaches them that cutting is a skill they will use to help complete tasks. Since the focus is on scissor skills, I have designed a variety of simple crafts where the primary task is cutting.


There are simple crafts that only use cutting straight lines and others that involve cutting out shapes. If you want to focus solely on cutting, copy the provided craft pages on colored paper. You can also copy on white paper and have students color on their own for more fine motor skills practice.
No matter the skill level, students can find success using scissors and creating with their new skill. And. . . they LOVE taking home their crafts to show their family what they can do!
Ready to get started making scissor skills part of your classroom routine? If you’d like to have a variety of non-seasonal and seasonal cutting activities done for you – then I’ve got you covered.

With cutting lines for all the different skills, a variety of shapes and pictures to cut out and ready-to-make crafts – you will have everything need. I use these activities for whole class cutting practice, as a center, for morning work, and as early finisher activities.
Plus. . . I love combining the crafts with writing, science, social studies, and reading. In the spring, we use the simple Earth Day Mobile found in the Spring Scissor Skills pack after learning about the holiday and recycling.
In the fall, students love creating their own turkey hat after reading How to Catch a Turkey or Turkey Trouble.

If you’re curious about what this could look like in your room, be sure to check out the Scissor Skills Full Year Bundle! This resource includes 5 different sets that you can use all year long. Inside the bundle you’ll find:
Since this bundle includes activities and crafts for every season, you won’t have to waste precious time searching for engaging activities to practice this important fine motor skill! Grab the bundle and you’ll be set for the whole year.
Want to test out these activities in your room first? Enter your email below to be sent a FREE pet themed Scissor Skills & Simple Crafts pack! You’ll get a variety of cutting pages as well as two simple crafts.
window.fd(‘form’, { formId: ‘653418acff4a19afd2b91a33’, containerEl: ‘#fd-form-653418acff4a19afd2b91a33’ });This is a great way to test out my method for teaching scissors skills to your students. Have fun with your learners and don’t forget to refer back to these tips for success!
By following these tips, you can help your students develop the important scissor skills that they need for success in school and in life. Pin this post on Pinterest to keep these tips handy!