


Teaching cursive can feel like a daunting task! Growing up, my grandmother used to write us letters, and it was always the best surprise to find one waiting in the mailbox. She had the most beautiful cursive, and to this day, when I look back at the letters I saved, there is an aura of romanticism to them! In today’s tech-driven world, strong handwriting skills are becoming a lost art. Let’s dive in to see how you can make teaching cursive an easy and fun part of your daily routine!
Wondering why this matters? Many students don’t know how to write or read cursive. And. . . while this might not seem like a big deal, it means that they don’t know how to sign legal documents with a signature or read important historical documents, like the Constitution. I get it! We live in a techy world, and these things may become obsolete. But until that happens, we owe it to our students to prepare them for life in the real world.

Beyond these reasons, there are also many benefits to learning and writing in cursive that our students are missing out on. Learning to write in cursive:
I get it, adding one more thing to your day feels impossible! I know that cursive handwriting instruction can often seem overwhelming because it already feels like there is never enough time for instruction. On top of this, many schools do not supply a curriculum or materials to help you teach cursive handwriting.
Don’t let this discourage you, friend! We’re going to tackle this together. The good news? There are many fun ways to teach cursive that your students will love and that will take only a few minutes a day! Let’s talk about how you can get started teaching cursive in your classroom.
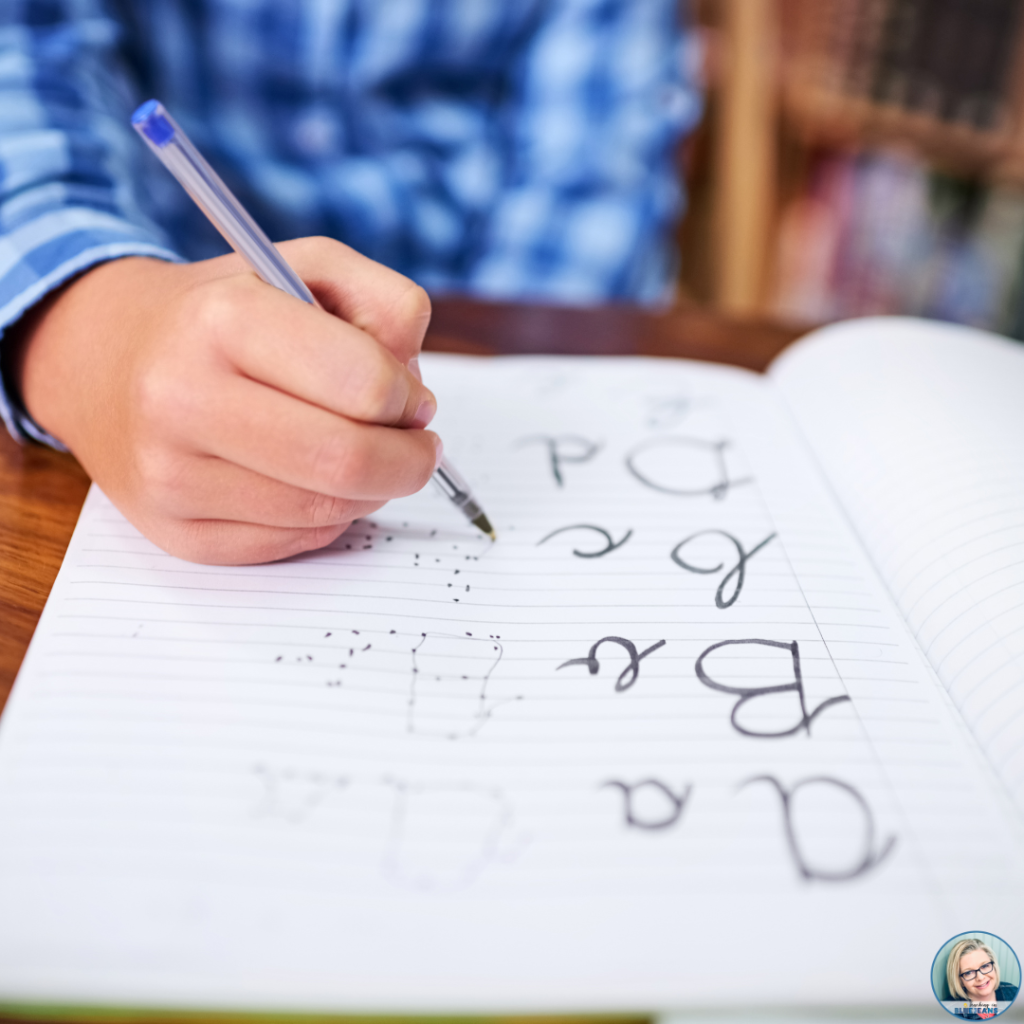
Students will need to start with the basics when it comes to learning cursive. When teaching this topic, it is best to start with lowercase letters because they are the easiest to learn. I recommend breaking the letters up into four groups based on the type of handwriting stroke that is used to form each letter.

When teaching each of these groups, begin by modeling the handwriting stroke. For example, when introducing the under curve, begin with air writing. Hold your arm out with your pointer finger and draw the under curve shape in the air, showing students how the curve moves down (under) before coming up. Then have your students air draw with you a few times. Next, model drawing that curve on the whiteboard and have students practice on their paper.
Once students have a grasp on the under curve, show them all the letters they can form using it. I suggest introducing 2-3 letters a day and then having a couple of days of reviewing all the letters.
Next, you can give your students more practice on those letters while also increasing the difficulty by using those under curve letters to form words. You can use a tool like this Scrabble Word Builder to generate a list of possible words in just a few seconds.
Choose words to have your students practice writing. This will give them lots of practice with the under curve and letter formation, but also opportunities to practice connecting the letters. Just make sure that the words you choose follow the cursive writing stroke you are focused on.
Like in most things, there will be some exceptions. For example, in words like ‘we’ and ‘be’, the letter e is formed a little differently since the letter before it ends at the midline. Use your best judgment based on your students to decide whether to avoid that and teach it later, or introduce those exceptions now.
You can follow this same basic format as you introduce each of the four lowercase letter groups. I would recommend spending a week or two on each letter group. Remember, our goal is to spend about 10 minutes a day and then move on. It may feel like it is going slow, but if you can spare just 10 minutes a day, each day, it really adds up. Before you know it, your students will have mastered their cursive letter formation.
Once students have been introduced to all of the lowercase letters and have had lots of opportunities to practice, you can move on to uppercase letters. Again, I would recommend teaching these in groups based on strokes they have in common.
You can follow the same procedure as described above when introducing the uppercase letter groups. Once you get to the steps of adding words, students will be working on both uppercase and lowercase letters together.

Once you have taught all of the letters in isolation and worked on connecting letters to form words, it’s time to practice, practice, practice! This is an important part of the process when it comes to teaching cursive, as it will help your students develop fluency. Taking it slow and making sure your students get plenty of practice with each step in the process is vital in helping their handwriting become more natural and fluent over time, so don’t rush these steps!
I know what you’re thinking. . . this is going to be a lot of repetitive practice. And you’re right! So the real question is, how do you keep students interested and engaged in a task that can quickly become mundane? Keep reading for my favorite ways to engage students and get them excited about practicing handwriting!
Alright friends, now that you know the order in which to teach the letters and how to progress from there, let’s talk about how to practically approach this in your classroom. When it comes to engagement, there’s no doubt that hands-on learning is a winner! Give these ideas a try in your classroom to keep your students interested and excited to learn as you focus on teaching cursive while moving gradually through the sequence I’ve outlined above.

One idea that I love is to give students a piece of pipe cleaner. Have them practice bending the wire into the correct shape of the letter as they reference it on a poster or flashcard. To help facilitate this, encourage them to first trace the letter with their finger and then bend the pipe cleaner into place. Then have them trace the letter again – this time tracing the pipe cleaner. The different sensory input adds a great aspect of multi-sensory learning to the activity. Afterward, consider using a practice page for that letter to reinforce the proper formation further.
Another fun way to let students practice is by giving them shaving cream to smear on their desk and have them practice writing each cursive stroke or letter. You can call out letters to practice as a whole class, or have students use laminated flashcards to prompt them. Either way, this hands-on learning approach will be a hit in your classroom. Bonus: This is a two-for-one because it also cleans their desk and makes the classroom smell amazing! But beware. . . a lot of laughter to be heard with this one! 😜
If shaving cream seems too messy for your liking, you could try having them write their letters with a dry-erase marker on their desk. Then have them erase the letter using the same strokes they used to write it. Having students write and then erase it in the correct formation lets them practice the same letter twice. This is especially great as students are starting to connect letters to form words, and you could even turn it into a friendly competition of who can write it out first on their desk.
Add a little movement by playing write and erase musical chairs style. Simply turn on some music and have the students start to walk around the room with a dry-erase marker in hand. When the music stops, they go to the nearest desk and write the letter you call out. Continue writing until you have done about 10 letters. Then collect the dry-erase markers and play again. This time, instead of writing the letter, they will erase it. Not only will they be working on writing skills, but they will also be working on cursive letter identification skills, too!
Any time students can get multiple sensory inputs in the learning process, we increase their ability to learn. That’s why this is such a great activity. Simply fill an aluminum tin with sand. Then have students use their finger to practice writing. And. . . students love that all they have to do is gently “shake” the tin for a fresh start! This activity is so easy to set up and use in the classroom. For a true sandbox experience, take the mini-sandboxes outside. This is a great way to teach cursive outside and enjoy the sunshine, and also gives students a change of scenery!

Who doesn’t love glitter? Okay, that might be rhetorical since it can be messy, BUT your students will love adding some creativity to their cursive practice. Choose any art supplies you have on hand and let students write letters with white glue and decorate them. You can use glitter, sand, sequins, or stickers to bring the letters to life! Think old-school puffy paint vibes!
You can use this activity to create your own class set of decorative cursive letters. I like to give students a large sheet of construction paper and then assign them a different letter. Each student will write the letter large enough to fill the page and then decorate it. When they are done, hang it up in class as a full cursive alphabet. This is a team effort project that everyone really enjoys.
You can also repeat this activity by having students write their names. They will love any chance to make cursive writing personal. And. . . you can use their names on their lockers or desks.
Aside from the hands-on learning activities we walked through above, there is one more activity that is an all-star player in my classroom when it comes to teaching cursive. There’s no way to get around having pencil and paper time when you are working on handwriting. These no-prep practice pages are such a practical and easy way to ensure that my kids get daily practice with writing in cursive. But don’t worry, these aren’t just ordinary, boring cursive worksheets! Let me explain. . .
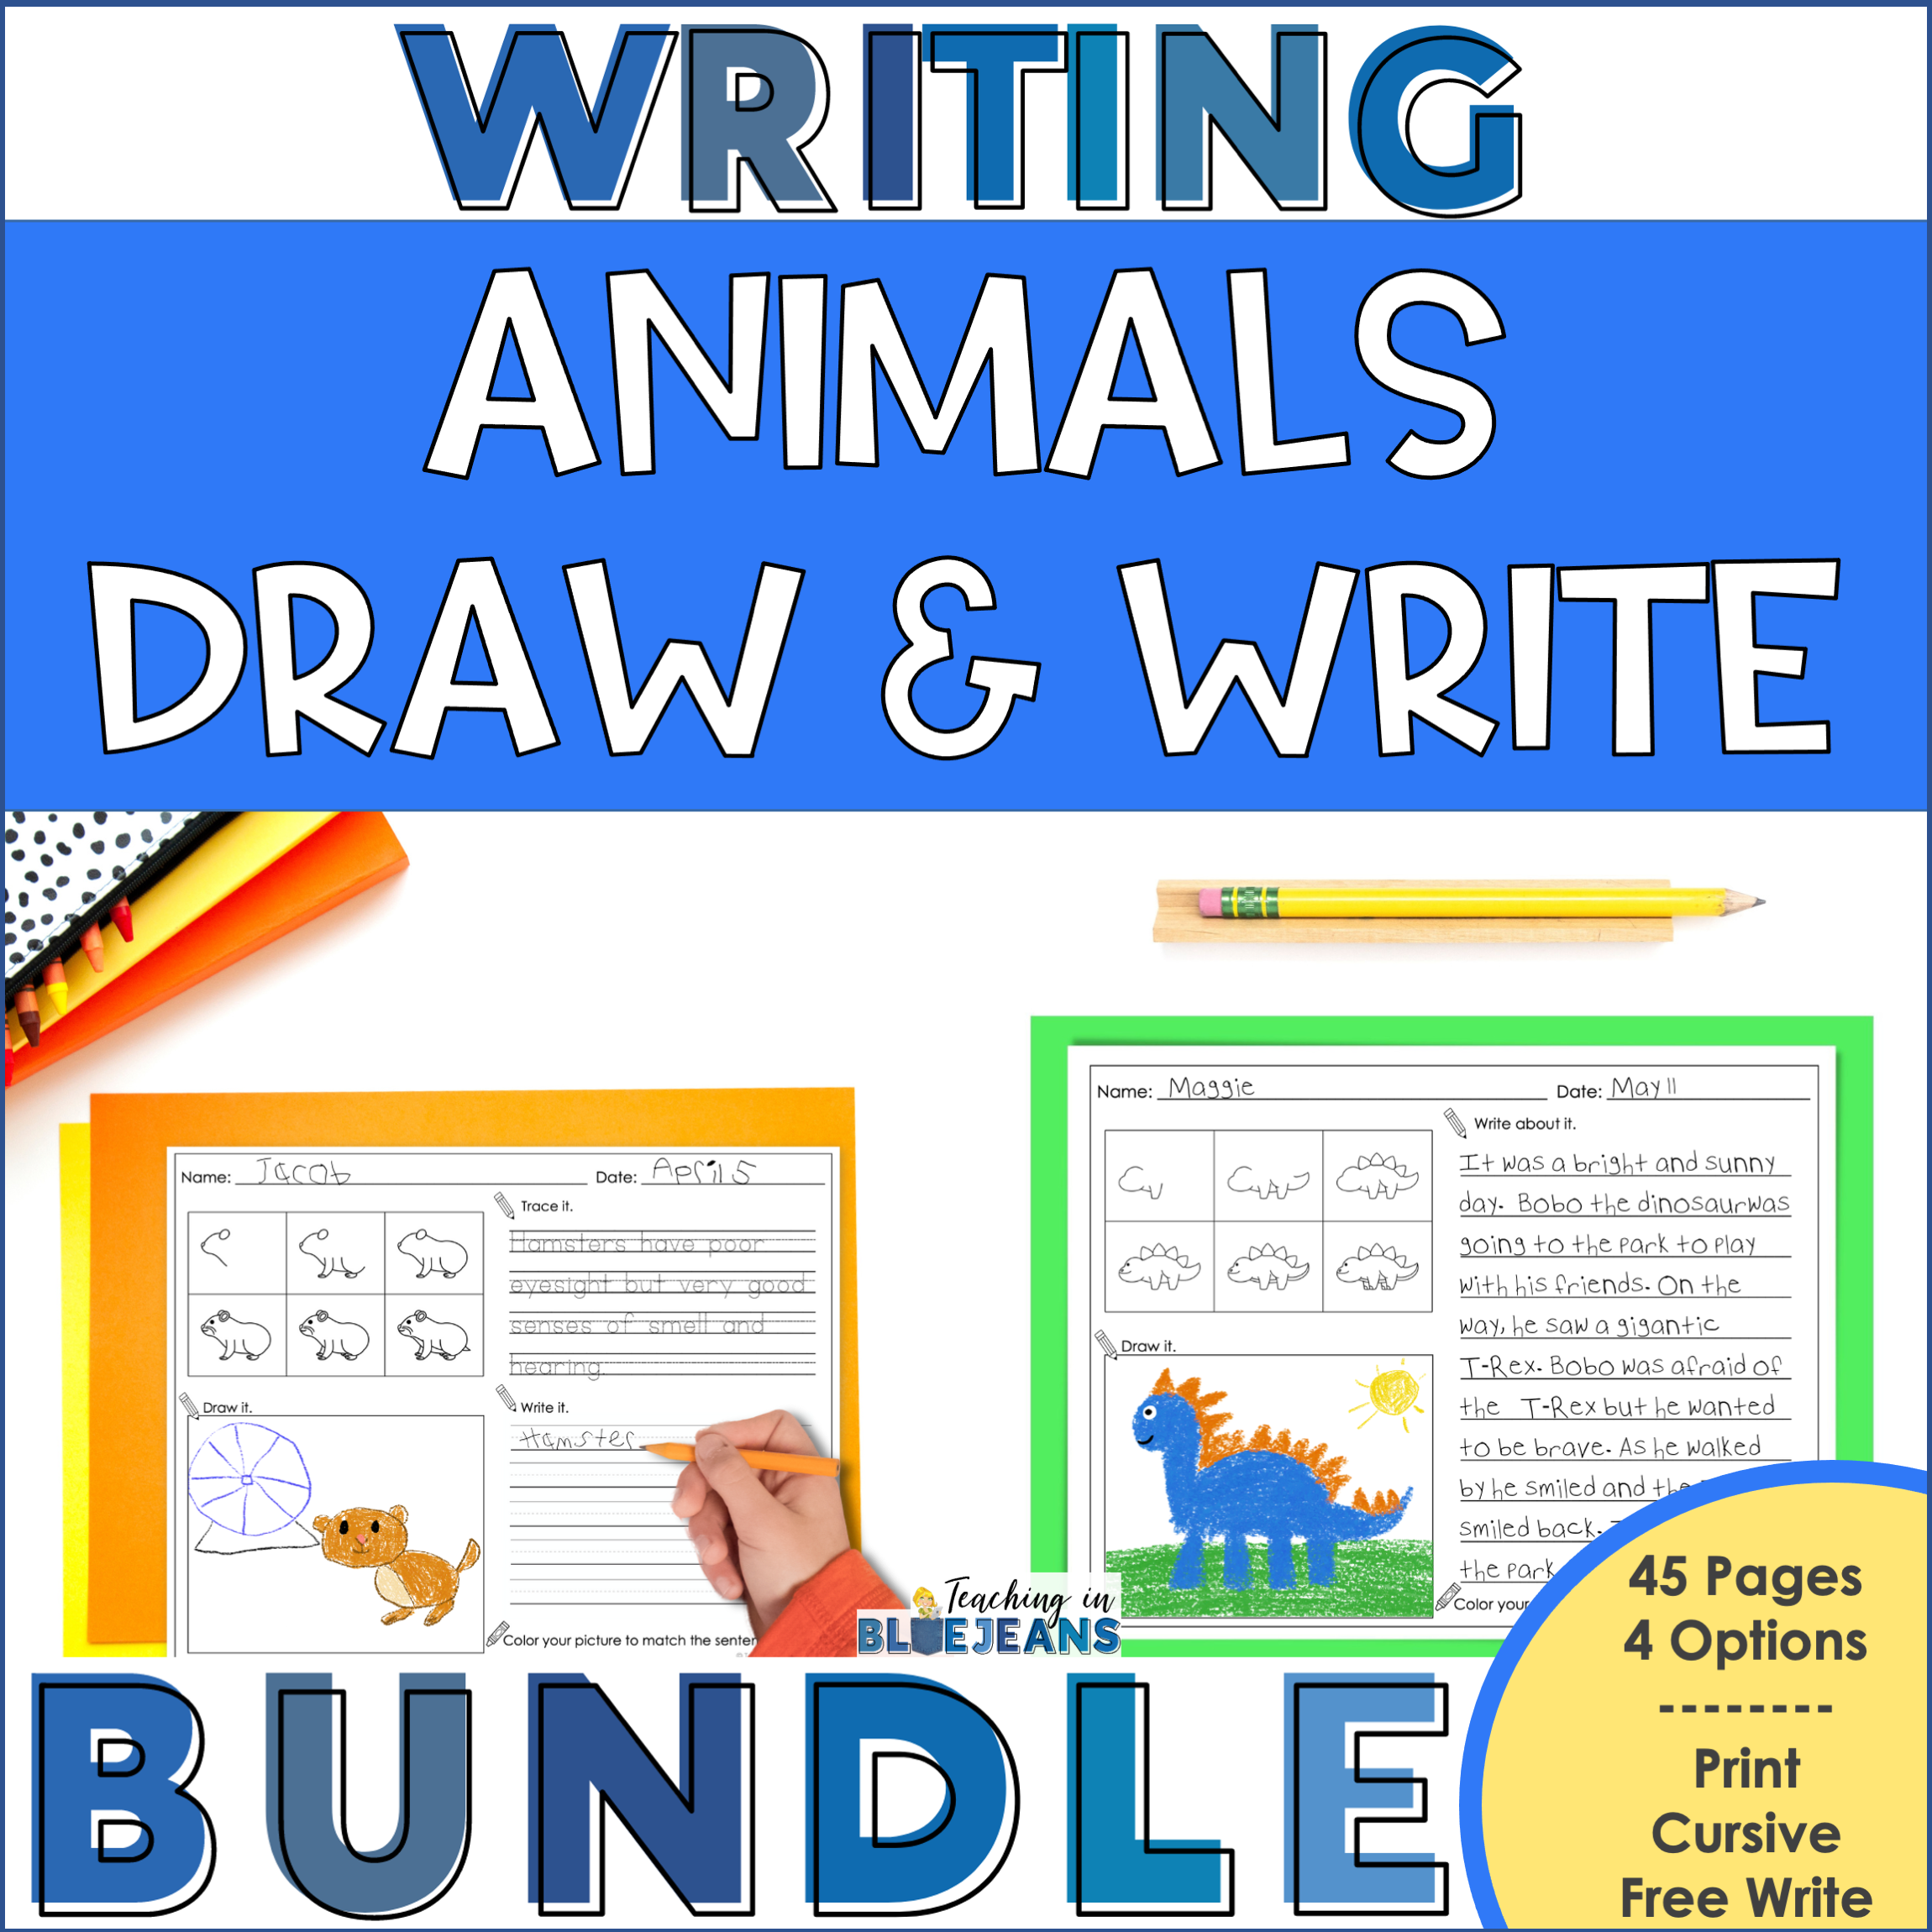
I have found that one of the best ways to engage students in writing is through drawing activities. Wait. . . what?! Yes, stay with me here! In my classroom, I love to use Draw and Write No-Prep Practice Pages that allow students to build their handwriting skills through guided support, all while being a little creative too.
Oh, and the real bonus? As they draw, they are actually practicing many of the same strokes used to form the letters, they just don’t realize it! I’m telling you, these pages are one of those teacher wins that you will love to have! And trust me, your kids are going to love Draw and Write Activities too!
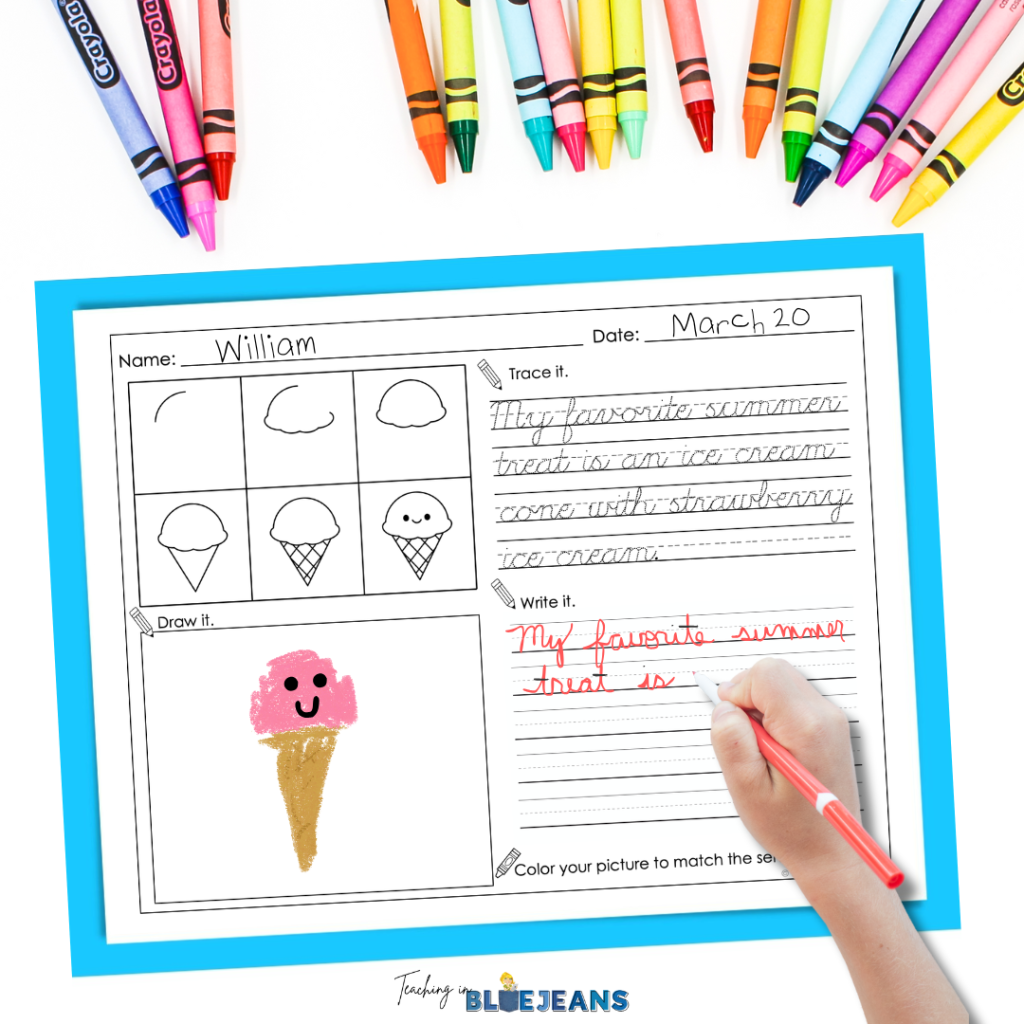
To get started, students will first use the step-by-step directed drawing instructions to learn how to draw a simple object. Then, students will practice their cursive by tracing a sentence related to their drawing before writing it on their own. Finally, they will color their illustration to match the sentence they wrote. This final step makes sure that they are correctly reading cursive, too.
The best part about these practice pages is that they come in a variety of themes! With sets about animals, seasons, and holidays, you’ll have plenty of options to help facilitate teaching cursive in your classroom.


These no-prep pages can be used as:
These no-prep practice pages make it easy and fun to focus on teaching cursive in your classroom. And the best part is that you won’t have to convince your students to partake, they’ll be eager to! Check out all of the Draw and Write activities here to simplify your routine when it comes to teaching cursive.
Alright, friends, how are you feeling? More confident in your ability to tackle this?! I hope so. As you get started, please remember – teaching cursive takes time. But if you can build just 10 minutes a day into your routine, you can do this! Here’s a couple of reminders before you get started. . .
Finally, don’t forget, Rome wasn’t built in a day, and beautiful, crafted handwriting won’t be either!
Be sure to check out these blog posts next to keep the fun rolling!
I hope this post helped you to see that handwriting lessons can be easy, fun, and take just a few minutes. Pin this post to your favorite teaching Pinterest board and come back to it when you’re ready to get started teaching cursive!